Make Your Product Stand Out Using Printed Artwork
When designing the artwork for the film, there are some points to consider so that you avoid costly mistakes and lengthy delays.

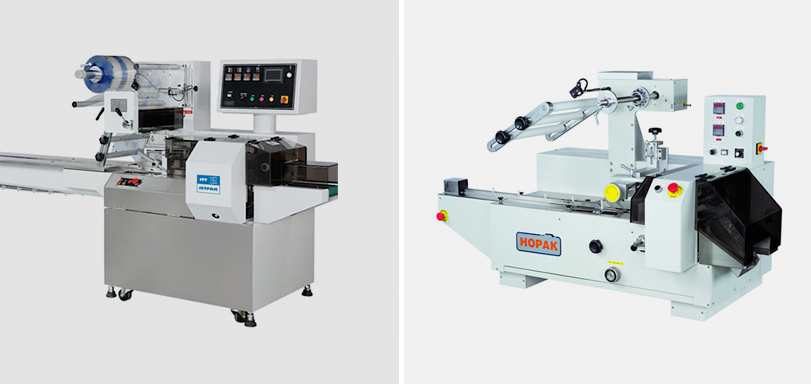
This procedure suits Jetpak bundle shrink wrap packaging machines that use printed film at the top and plain film at the bottom:
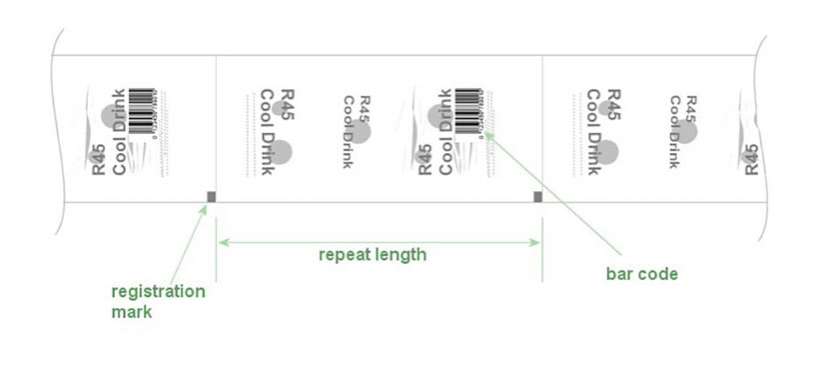
The repeat length is the distance between the registration marks on the shrink wrap film. A correct distance will ensure that the product will fit within the print, and the shrink wrap machine will be able to correct the print to pack synchronization successfully.
To correctly calculate the repeat length, hold a piece of shrink wrap film over a product bundle. Measure the amount of flim required to cover the product, from the base of one side to the base on the other side, and add 40mm.

The additional 40mm will allow the pack to clear the seal bar during the sealing cycle and there will be sufficient length left over for correction of print to pack synchronization.
If the repeat length is too short, the registration mark will be positioned at the wrong side of the sensor after the sealing cycle. If this happens the shrink wrap film cannot be used.
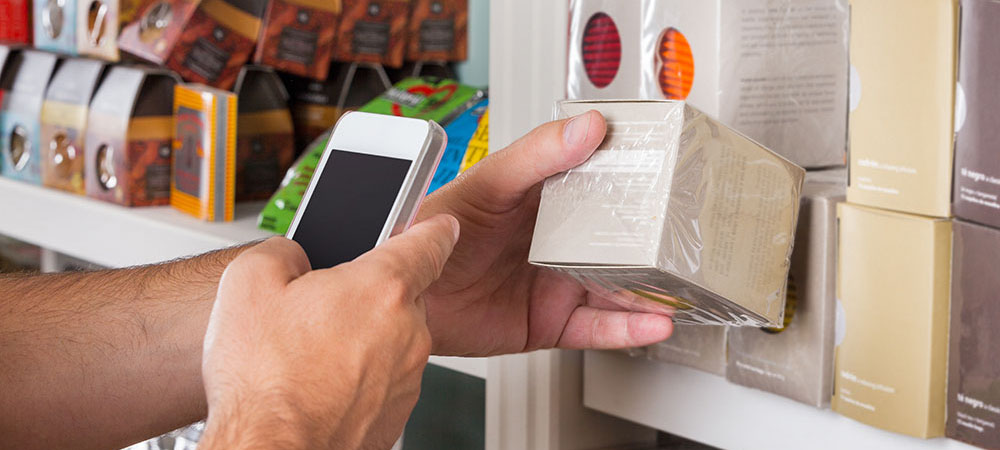
Background density of the bar code
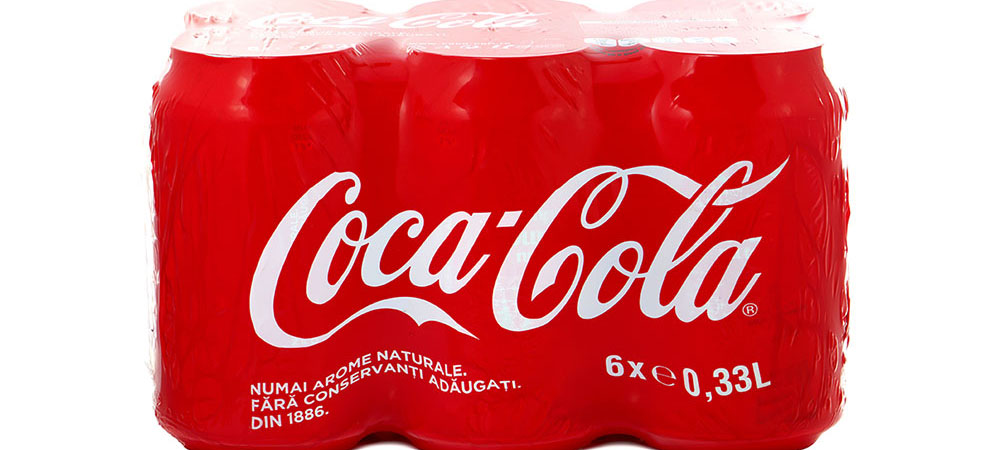
Some cans and bottles that are bundled together already have labels printed on the side.
The bar code on the film needs to be dense enough so that underlying images are not transferred through the formed packaging. If underlying images are transferred it may effect bar code scanning.
Position of the bar code
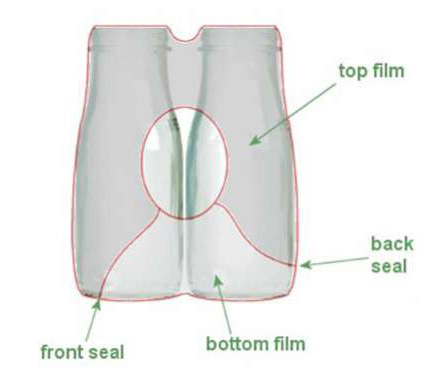
The shrink wrap film will form a rounded hole on the sides of the wrapped package.
The size of the hole is determined by the width of the film in relation to the width of the pack. The wider the film, the smaller these holes, which will wrinkles the film’s edges when formed.
Scanners will not be able to read the bar code if it is printed to close to this edge. It is best to position the bar code near the middle of the film to prevent distortion, as this area will be kept tight and wrinkle-free.
Color and size of the registration mark
The best color for the registration mark is one that will contrast with the background. This will make it easier for sensors to detect the mark, without the need for expensive color detecting sensors.
The size of the square should be at least 10mm x 10mm.
Positioning of the print
When the shrink wrap film is applied to the package, the back seal is visible on the back side of the pack.
If the print on the film is too low on this side the seal will cut it off. We advise that the artwork is higher up on the pack to avoid this.
Conclusion
The above tips and advice is a guide only and is intended to assist you in understanding the process.
We advise that you speak with our packaging specialists first before deciding to purchase printed film for bundle shrink wrapping applications.
For more information or to place an order, We’re here to help, check out our tutorials, machinery examples, best practices or simply call us for more information: